Wait List creates a queue of students for specific classes and enrolls eligible students in newly opened seats. It is a way to monitor class demand and may result in additional sections. Wait Lists will be available from the first day of early registration through the Saturday of the first week of classes.
Before Saturday of the first week of classes, if a seat becomes available you will be automatically enrolled in the class based on your wait list position and if you meet all of the enrollment requirements. (Wait list will not place you into a course after this date, even if open seats exist.)
If a seat becomes available during the second week of classes, you should drop the wait listed course from your Student Center, and then re-add the course using a permission number.
Eligibility:
- The course has to be full
- You need a valid enrollment appointment
- You cannot have any negative service indicators (holds) preventing registration
- You meet the class standing (i.e., sophomore, junior) and/or major requirements for the course
- You meet the class prerequisites and co-requisites
- Registration complies with the repeat policy
- You may wait list up to 8 units.
If you are no longer interested in being on a wait list, it is your responsibility to drop the course.
Wait List a closed class
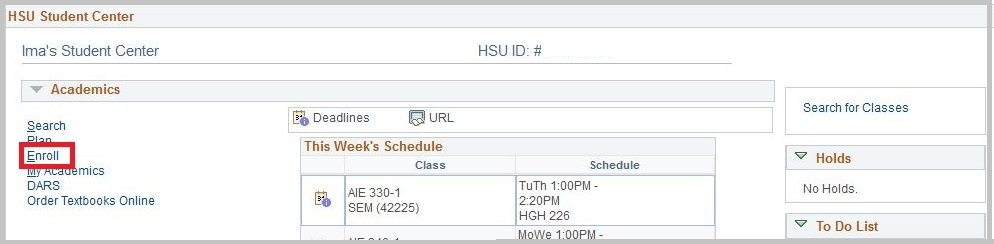
Once you are in Student Center.
Step 1: Select the Enroll link located in the Academics section.
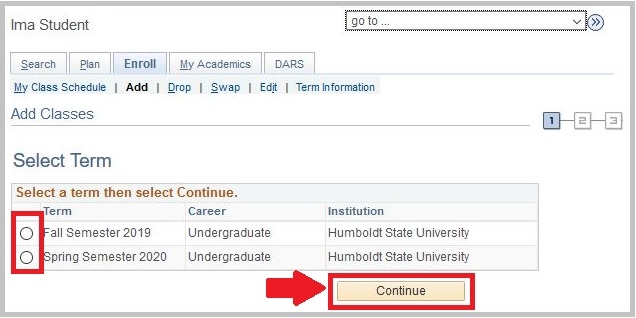
Step 2: Select the term and click Continue.
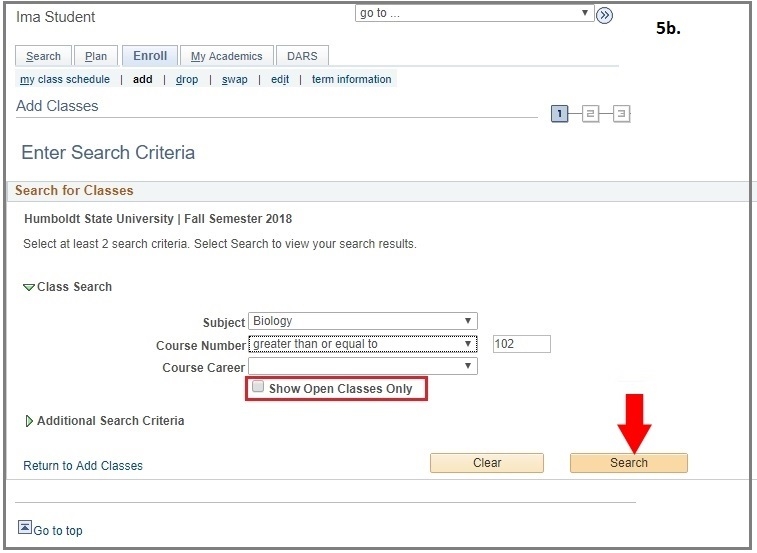
Step 3a: Enter the 5-digit Class Number (Nbr). It's found in the first column of the class search results. Click Enter. If you don't know the specific class number, click Search and see Step 3b.
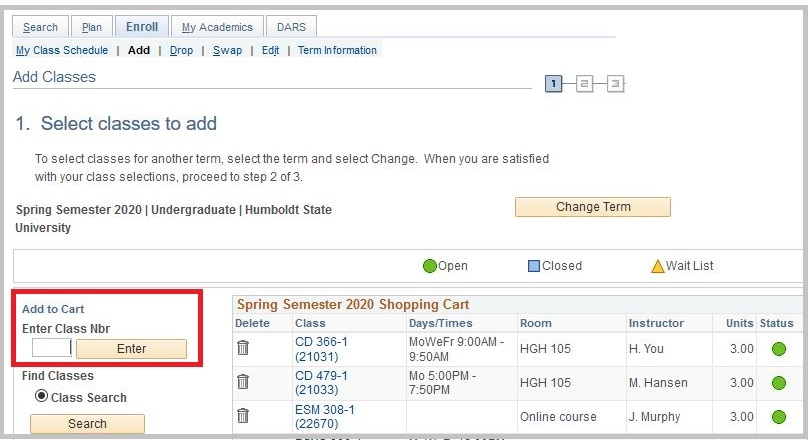

Step 3b. Enter at least two search criteria. Make sure to uncheck the box "Show Open Classes Only." When ready, click the Search button. You can also import your classes from DARS schedules. See DARS Schedules.
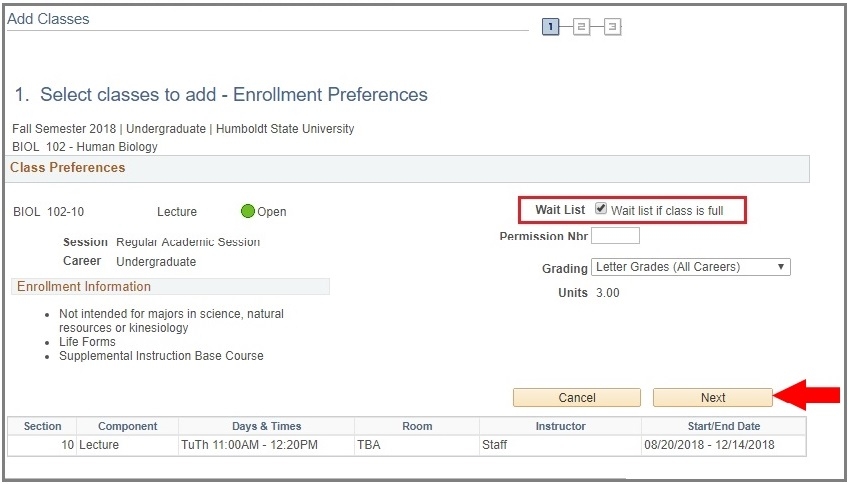
Step 4: After you select a class, the Enrollment Preferences window will open. Check the box labeled “Waitlist if class is full”.
Step 5: Click Next.
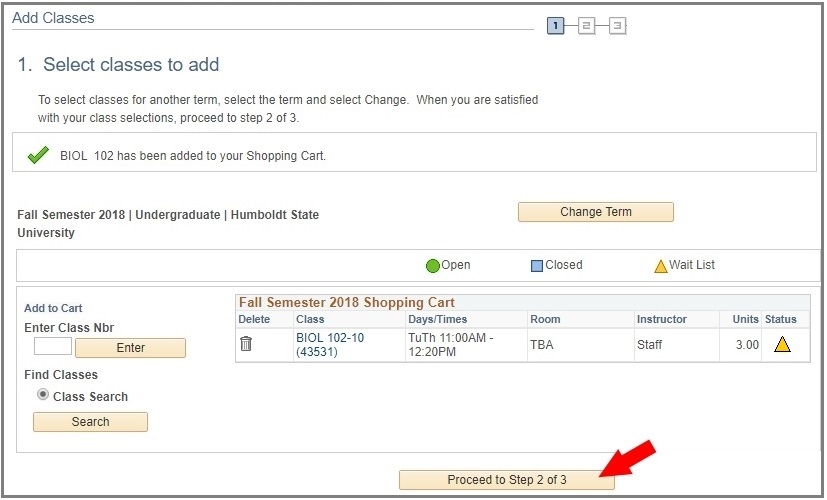
Step 6: Double-check that you are wait listing for the correct course and section by checking in your “Shopping Cart”. If correct, click Proceed to Step 2 of 3.
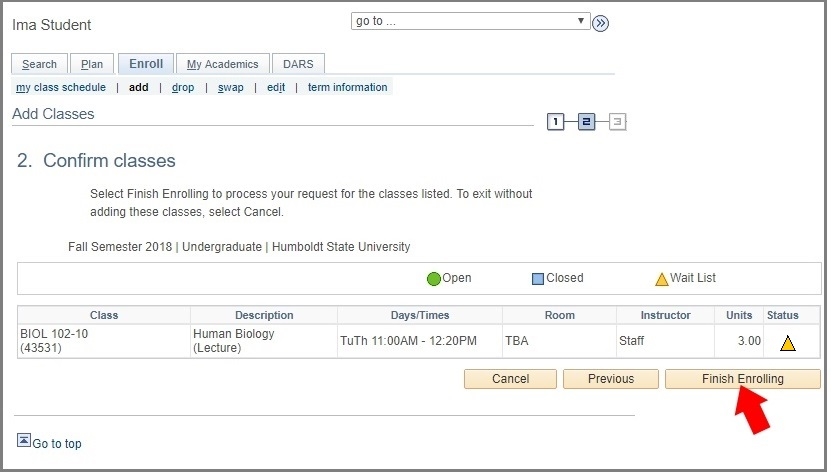
Step 7: Click Finish Enrolling.
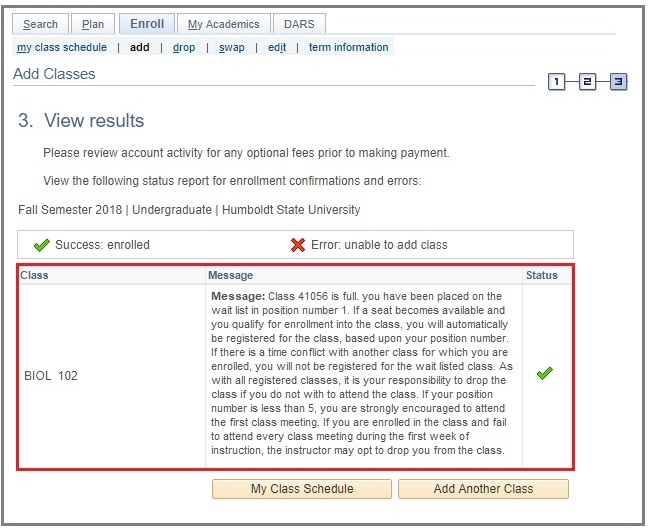
Step 8: You should see a green check in the Status column, which indicates that you have successfully been placed on the wait list. Read the message to learn your position on the wait list and information about automatic enrollment.
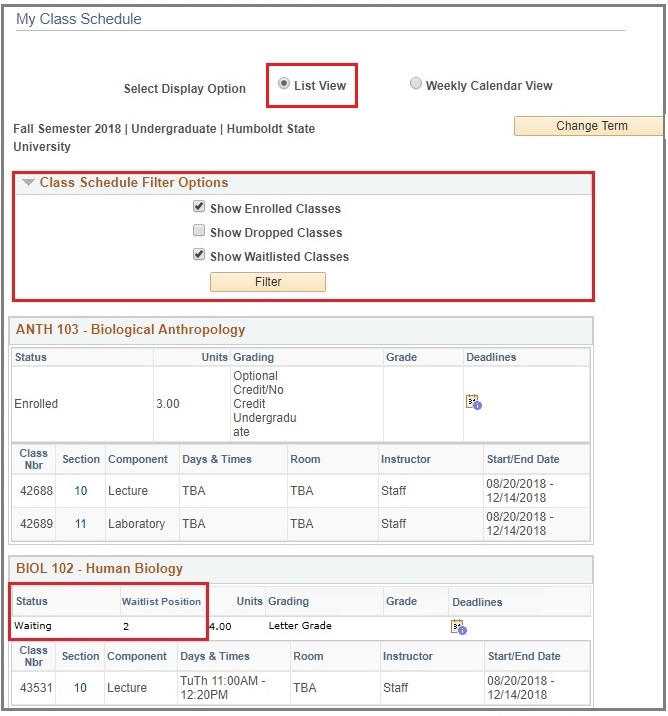
Step 9: You can check your position on the wait list by viewing My Class Schedule. Set Select Display Option to List View). In Class Schedule Filter Options, check "Show Waitlisted Classes"